Pressure Canning for Beginners: Essential Guide to Safe Home Food Preservation
Diving into the world of home food preservation can seem daunting, especially when it comes to methods like pressure canning. Yet, with the right knowledge and tools, it's an incredibly rewarding skill that ensures your pantry is stocked with nutritious, safe, and delicious homemade food. This comprehensive **guide to pressure canning** is designed specifically for beginners, demystifying the process and equipping you with the confidence to start your canning journey. We'll cover everything from understanding your equipment to mastering the critical steps that guarantee food safety.
Why Pressure Canning is Your Safest Bet for Low-Acid Foods
The fundamental principle in home canning revolves around acidity. Foods are broadly categorized into two types: high-acid and low-acid. High-acid foods, such as fruits, pickles, jams, and jellies, contain enough natural acid to prevent the growth of harmful bacteria, including *Clostridium botulinum*, which produces a deadly toxin. These foods can be safely processed in a boiling water bath.
However, for low-acid foods, a simple boiling water bath is insufficient. Low-acid foods include most vegetables (like green beans, corn, peas), meats, poultry, seafood, dairy, and mixtures like soups and stews. These foods lack the natural acidity to inhibit bacterial growth, particularly *Clostridium botulinum*. This is where pressure canning becomes not just an option, but a non-negotiable safety requirement. A pressure canner heats food to temperatures significantly higher than the boiling point of water (which is around 212°F or 100°C at sea level). These elevated temperatures, typically 240°F (116°C) or higher, are essential to destroy botulism spores, ensuring your home-canned low-acid foods are safe for consumption. Skipping this crucial step with low-acid foods puts you and your loved ones at severe risk. To understand more about this vital safety aspect, check out our related article:
Why Pressure Canning is Essential for Low-Acid Foods Safety.
Gearing Up: Understanding Your Pressure Canner and Essential Equipment
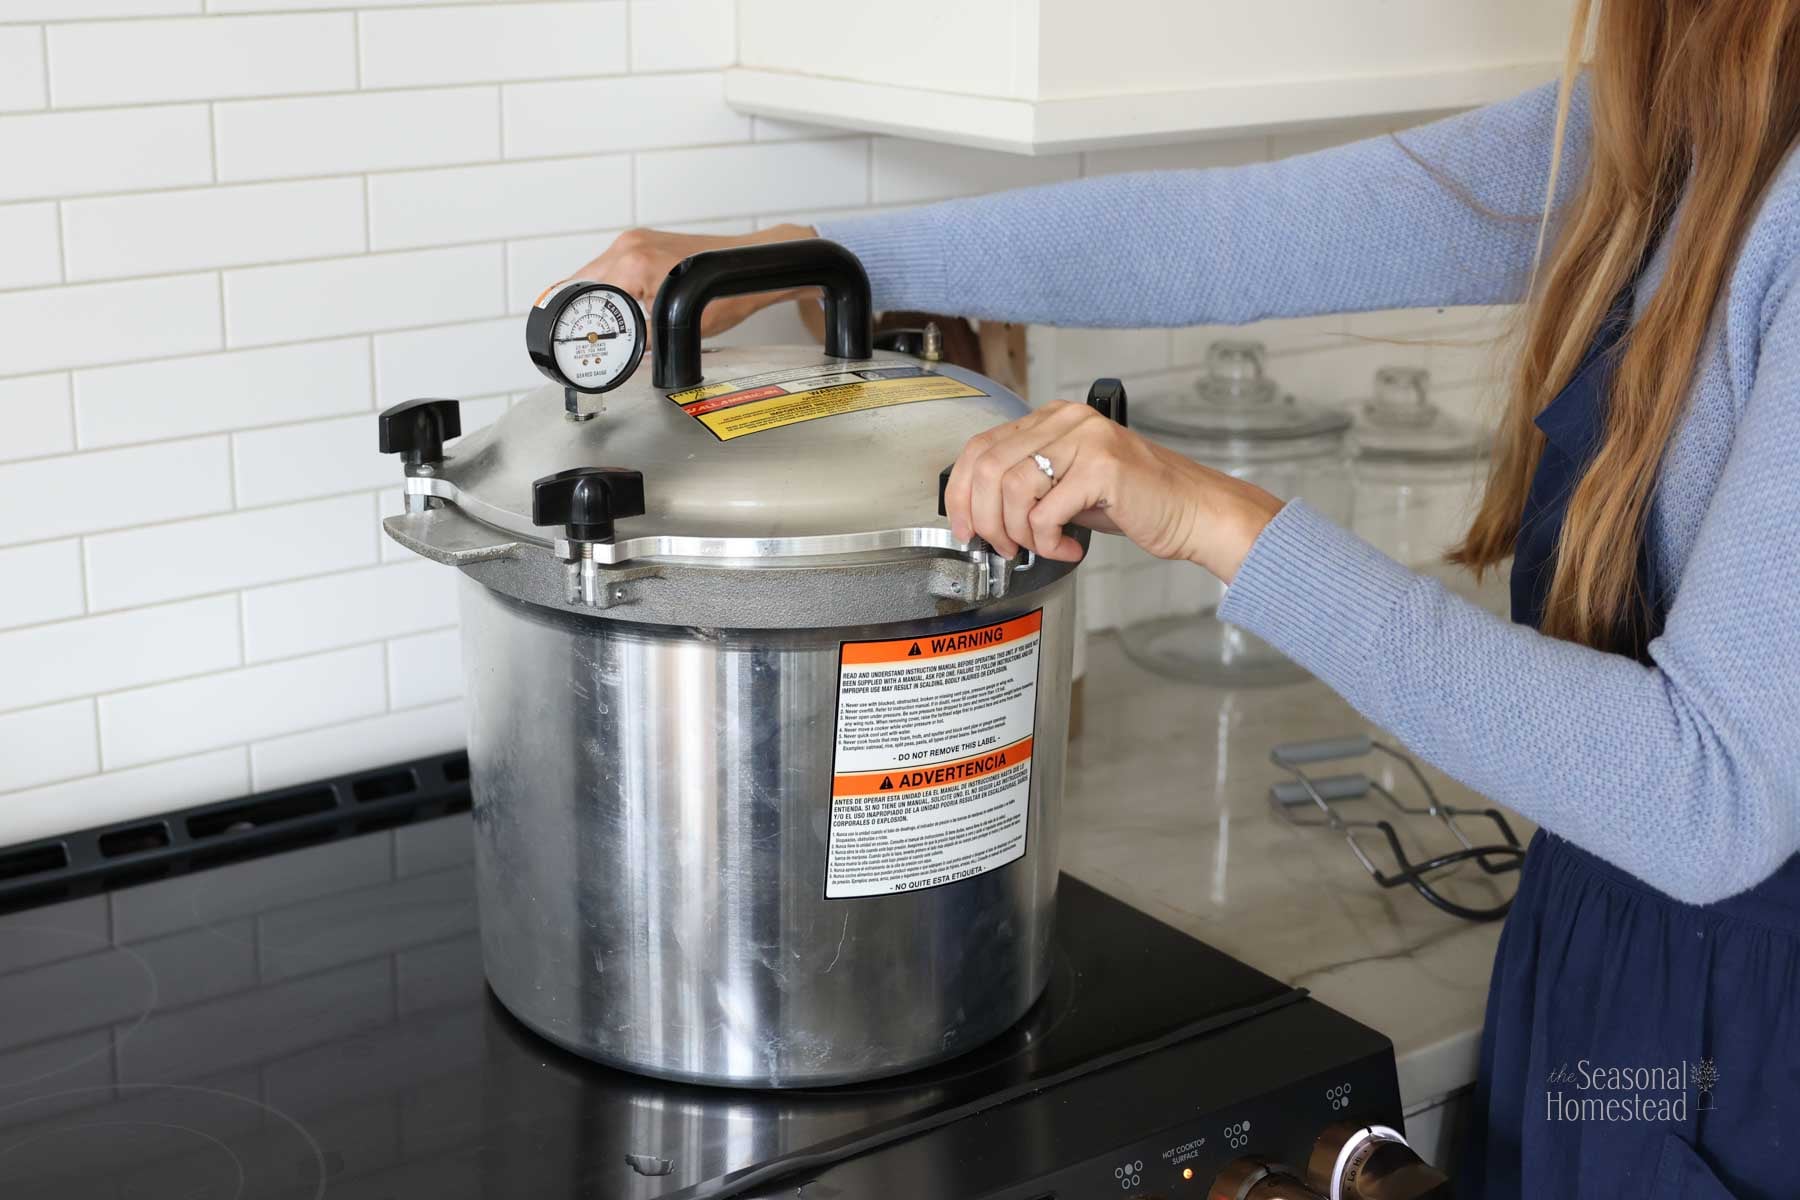
Before you begin, familiarity with your equipment is paramount. The heart of this operation is, of course, the pressure canner itself. Unlike a pressure cooker, which is typically smaller and not designed for safe canning, a pressure canner is robustly built to handle the sustained high pressures and temperatures required for food preservation.
Most pressure canners come in two main types:
- Weighted-Gauge Canners: These canners regulate pressure using weights that jiggle or rock, releasing steam when the target pressure is reached. They are often simpler to operate as they don't require constant monitoring of a dial.
- Dial-Gauge Canners: These feature a dial that shows the internal pressure. They require careful observation to maintain the correct pressure, and the gauge should be tested annually for accuracy. Many modern canners, like the "Denali Tanker" referenced by some experts, offer the best of both worlds, equipped with both a weight and a pressure gauge, providing an extra layer of confidence and ease of use.
Regardless of the type, always refer to your specific manufacturer's instructions carefully. Each brand has slight variations in operation.
Beyond the canner, you'll need a few other essential items:
- Canning Jars: Use only canning-specific jars (Mason jars) in wide mouth, regular mouth, pint, quart, or half-gallon sizes. Never reuse commercial food jars (like mayonnaise or pickle jars) as they are not designed to withstand canning pressures and temperatures.
- Two-Piece Lids: Consisting of a flat lid with a sealing compound and a screw band. Lids are for single use only; screw bands can be reused.
- Canning Rack: This is crucial! A rack placed at the bottom of the canner prevents jars from direct contact with the heat source, minimizing the risk of breakage due due to thermal shock.
- Jar Lifter: For safely placing and removing hot jars from the canner.
- Canning Funnel: Helps keep jar rims clean when filling.
- Headspace Tool: A simple tool to measure the precise amount of space between the food and the jar lid.
- Bubble Remover: A non-metallic utensil (like a plastic spatula) to remove air bubbles from jars before sealing.
The Step-by-Step Pressure Canning Process: From Prep to Preservation
Once you have your equipment, you're ready to embark on the actual canning process. This **guide to pressure canning** will walk you through the key steps, ensuring precision and safety.
- Prepare Your Food: This involves washing, peeling, chopping, or blanching your chosen low-acid food according to a tested recipe. For example, if canning beans, thoroughly rinse and sort them, discarding any bruised or damaged ones.
- Prepare Your Jars and Lids: Wash jars thoroughly in hot, soapy water and rinse well. While sterilization isn't always necessary if processing for 10 minutes or more in a pressure canner, ensuring they are clean and hot is important. Lids should be prepared according to manufacturer instructions (often simmered in warm water, but not boiled).
- Fill Jars: Pack your prepared food into the hot jars. This can be "raw pack" (raw food) or "hot pack" (pre-cooked food). Always refer to a tested recipe. Leave the specified headspace.
- Adjust Headspace: This is critical! Headspace is the empty space between the top of the food and the rim of the jar. For most low-acid foods like beans, a 1-inch headspace is required to allow for food expansion during processing and to ensure a proper seal. Use your headspace tool to measure accurately.
- Remove Air Bubbles: Slide a non-metallic spatula or bubble remover between the food and the jar to release trapped air bubbles. Add more liquid if necessary to maintain the correct headspace.
- Clean Jar Rims: Wipe the jar rims with a clean, damp cloth to remove any food particles that could interfere with the seal.
- Secure Lids: Place the flat lid on the jar, centering it carefully. Apply the screw band finger-tight – just enough to hold the lid in place, but not so tight that air cannot escape during processing.
- Load the Canner: Place the filled jars onto the canning rack inside the pressure canner. Ensure there's space between jars for water circulation. Add the specified amount of hot water to the canner (usually 2-3 inches, or as per your canner's manual). Matching the temperature of your canner water to the temperature of the food being canned is crucial to avoid jar breakage due to thermal shock.
- Vent the Canner: Secure the canner lid. Turn the heat to high. Allow steam to escape steadily from the vent pipe (or petcock) for a full 10 minutes. This purges air from the canner, ensuring that the pressure reading is accurate and that the high temperatures necessary for safety are reached throughout the canner.
- Pressurize and Process: After venting, place the weighted gauge or close the petcock. Allow the pressure to rise to the level specified in your recipe for your altitude (e.g., 11 pounds of pressure for 0-1,000 ft above sea level). Maintain this steady pressure for the recommended processing time, adjusting heat as necessary.
Mastering the Details: Headspace, Temperature, and Post-Canning Care
Success in pressure canning lies in meticulous attention to detail. Beyond the core steps, understanding nuances like headspace, temperature, and elevation adjustments is paramount.
Headspace Precision: We’ve emphasized headspace, and it bears repeating. Too little headspace can cause food to boil out from under the lid, leading to a weak or failed seal. Too much headspace means not enough air is expelled from the jar, potentially compromising the vacuum seal. While 1 inch is common for low-acid foods, some recipes might call for ½ inch (e.g., for some fruits) or even 1 ¼ inches. Always follow the recipe.
Thermal Shock Prevention: Jar breakage due to thermal shock is a common beginner frustration. This occurs when there's a significant temperature difference between the glass jar and its contents, or between the jars and the canner water. Always use hot jars for hot-packed food and fill with hot liquid. Similarly, place hot jars into a canner with pre-heated water. Conversely, use room-temperature jars for raw-packed food and place them into a canner with warm water. The canning rack is your first line of defense against direct heat, but temperature matching is key to preventing glass from cracking or shattering.
Elevation Adjustments: This is a critical safety factor often overlooked by beginners. At higher altitudes, water boils at lower temperatures. To compensate for this lower boiling point and ensure your food reaches the necessary sterilization temperature, you must increase the pressure in your canner. For example, while 11 pounds of pressure is usually sufficient at 0 to 1,000 feet above sea level, you'll need to increase the pressure for elevations above that. Consult a reliable altitude chart (often found in canning guides or extension office resources) and adjust your pressure setting accordingly (e.g., to 12 or 15 pounds for weighted-gauge canners, or higher on a dial gauge).
Post-Canning Steps:
- Natural Cool Down: Once the processing time is complete, turn off the heat and allow the canner to cool naturally until the pressure completely drops to zero. Do NOT try to rush this by opening the vent or running cold water over the canner, as this can cause siphoning (loss of liquid from jars) or jar breakage.
- Remove Jars: Once the pressure is at zero, carefully open the canner lid away from your face to avoid steam burns. Use a jar lifter to remove the hot jars, placing them upright on a towel-lined surface or cooling rack, ensuring they are not touching each other.
- Cooling Period: Let the jars cool undisturbed for 12 to 24 hours. You'll often hear a satisfying "ping!" as the lids seal.
- Test Seals: After cooling, check each jar for a proper seal. The center of the lid should be concave (curved inward) and not flex when pressed. Remove the screw bands and try to lift the lid with your fingertips. If it holds, it's sealed. If not, the food must be refrigerated and consumed within a few days or reprocessed immediately with a new lid (within 24 hours).
- Storage: Wipe jars clean, label them with contents and date, and store in a cool, dark, dry place. Properly sealed and stored home-canned foods can last for at least a year.
For more insights on preventing issues and perfecting your technique, explore our article on
Pressure Canning Tips: Avoid Breakage, Master Headspace & Seals.
Navigating Common Pitfalls for Canning Success
Even with a detailed **guide to pressure canning**, beginners can encounter common issues. Awareness of these can help you avoid them:
- Not Reading Instructions: Every canner is slightly different. Your manufacturer's manual is your first and most important resource.
- Ignoring Headspace: As discussed, incorrect headspace is a leading cause of seal failure and food spoilage.
- Improper Venting: Skipping the 10-minute venting period means trapped air, which can lead to inaccurate pressure readings and under-processing.
- Rushing the Cool-Down: Patience is key. Rapid changes in pressure or temperature can cause liquid loss from jars or even jar breakage.
- Not Adjusting for Altitude: This is a critical safety oversight. Always know your elevation and adjust pressure accordingly.
- Using the Wrong Equipment: Never use a standard pressure cooker for canning. It cannot maintain the required temperatures and pressures safely.
- Using Untested Recipes: Stick to recipes from reputable sources like university extension offices, the National Center for Home Food Preservation (NCHFP), or established canning book authors.
Conclusion
Pressure canning, while demanding precision, is an invaluable skill for anyone looking to safely preserve low-acid foods at home. This essential **guide to pressure canning** has walked you through the fundamental steps, from understanding your equipment and the critical role of high temperatures to mastering headspace, temperature matching, and crucial post-canning care. By following these guidelines, adhering to tested recipes, and always prioritizing safety, you'll soon be enjoying a pantry full of delicious, homemade, and safely preserved foods. Happy canning!